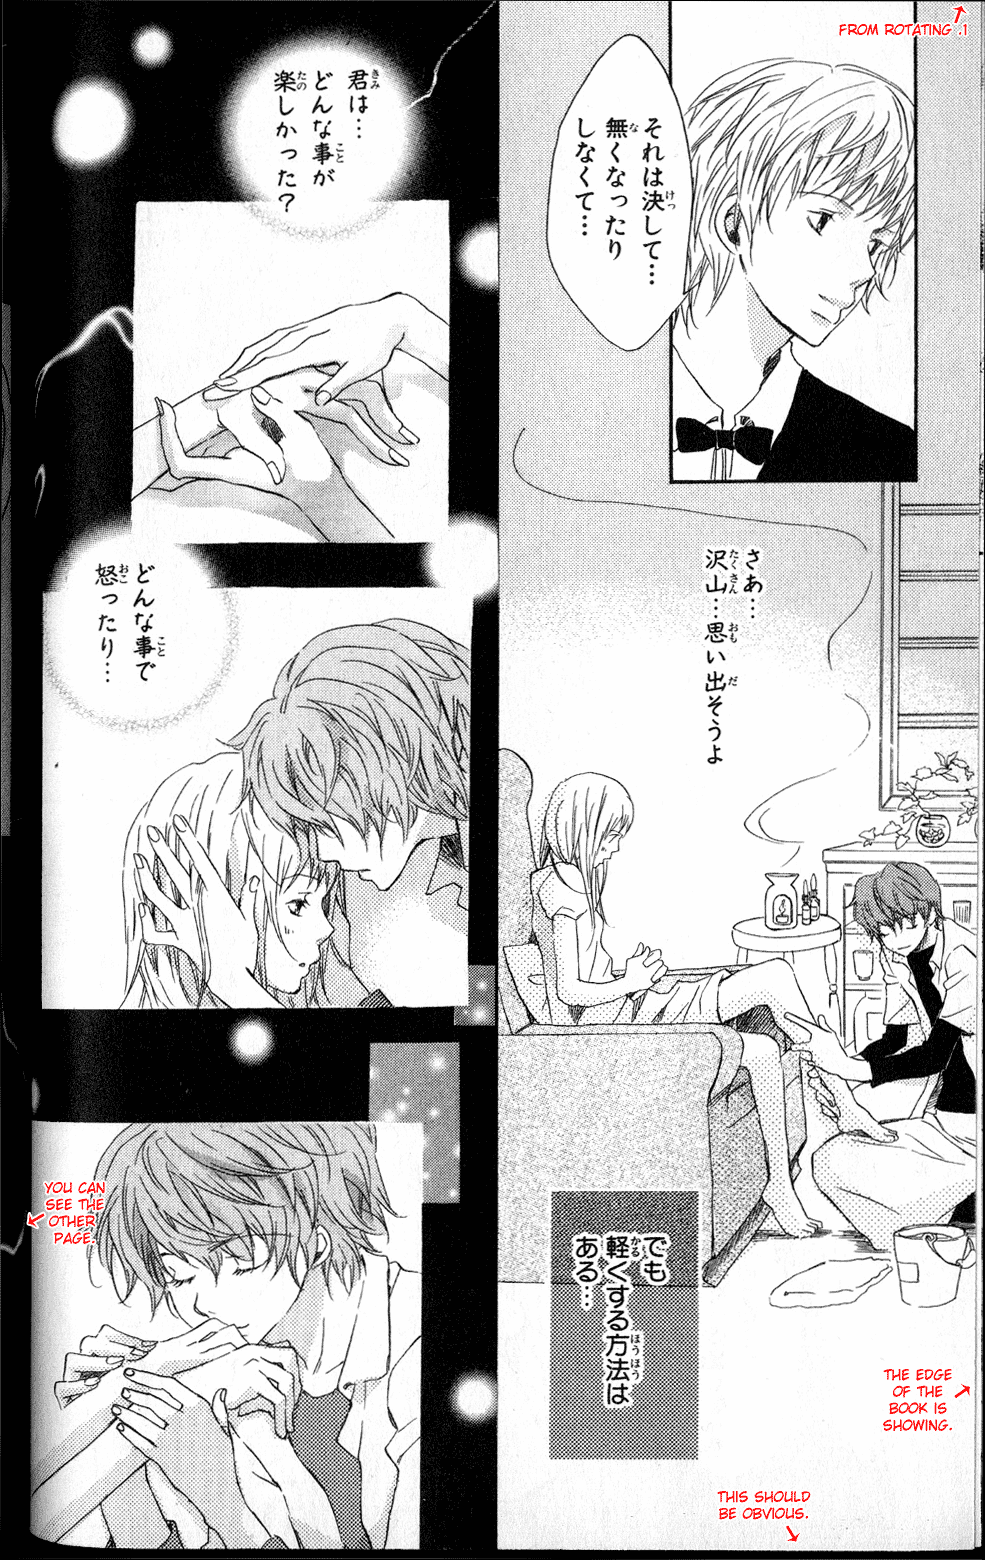
Congrats -- your scan is now perfectly straight. However, it probably looks something like this:
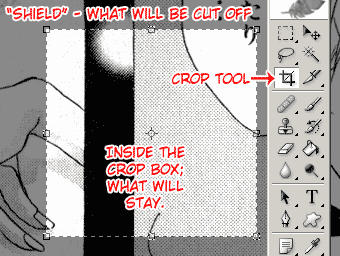
Even if the scan was given to you perfectly cropped, if you rotated it at all, you need to crop again (yes, even if you only rotated it .1 degrees). To crop an image, simply select the crop tool, and click and drag to form a rectangle on the image.
Up top, in the tool specifics bar, if "Shield" is checked, a gray shield will cover the part of the image outside the crop box. So everything under the shield will be cut off, and your cropped image will be just what's inside the box. Once drawn, you can adjust the box dimensions by clicking and dragging any of the 4 corners, or really, any edges. Finally, double-click inside the box to crop the image. (Alternately, you can right-click and choose "Cancel" if you don't wish to crop the image.)
After cropping off all four edges (as you will have to do if you rotated at all), here's a sample of what it should look like. Note that I had to crop quite a bit off the bottom, because the page curved inward around the gutter and the image was lost.
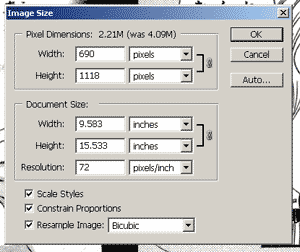
Finally, you need to resize the image. Most groups have standard sizes that they use (by width). Generally, groups use a width of 600-800px. To resize a scan, simply go to Menu Bar>Image>Image Size... and enter the appropriate width in the "Pixel Dimensions" width box. The height will automatically change to keep the same image proportions.