Most of these steps can be applied to any Shonen Jump type clean. Some mangas from these sources may require other steps. There are also other things you will need to learn to do on some pages such as doing the grays.
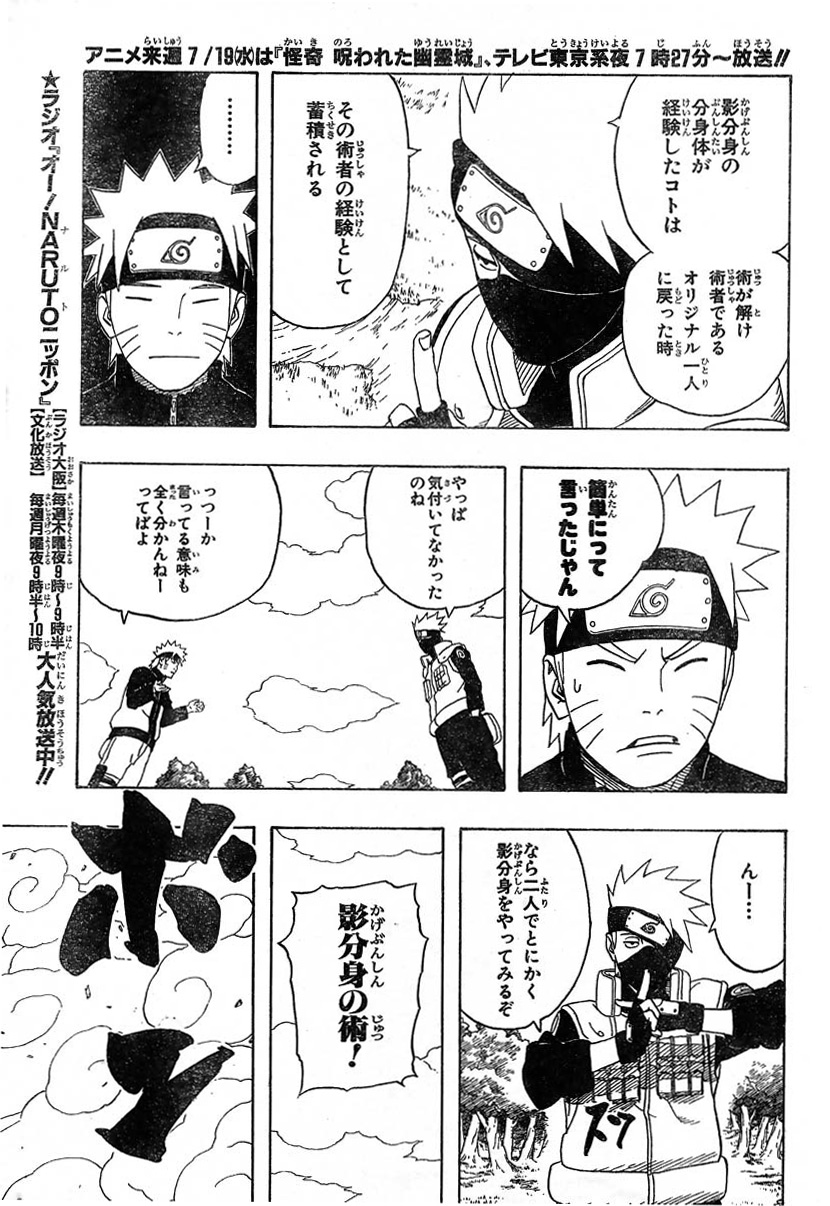
First the page we are going to be using is this hq raw from chapter 315...
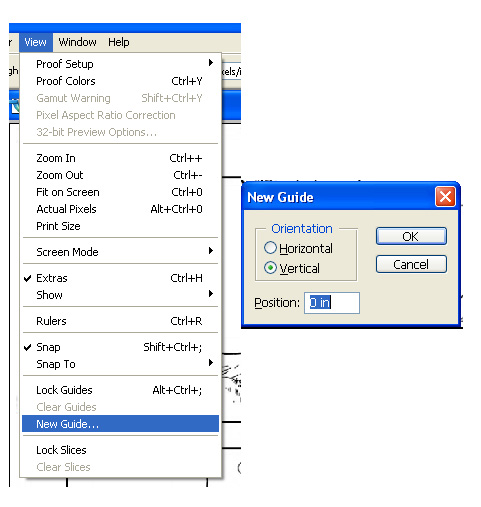
Notice that this image is not straight. To straighten the image we need to first make a guide line. In Photoshop click on View -> New Guide this will open a dialog box click Vertical and hit ok.
This will give you a blue/green guideline at the side of your page. Use the Move Tool (V) to bring the guideline near a vertical set of panels.

Now click on Image -> Rotate Canvas -> Arbitrary and it will open a dialog box. Set it to 0.02 and in this case CCW.

Rotate the canvas as many times as you need to make the page straight. Use the 0.02 as an increment so that you don't over straighten. When it is straight the guideline will be even on both ends like this...

Once I have the canvas straight I move to work on the blacks. I use the brush tool since I can be sure of absolute black #000000 and white #FFFFFF

I use a hard brush (100% hardness) set to a pixel width that works for the area I am filling in. For large areas I tend to be around 15 px, for small areas 4 px, for really tight areas 1 or 2. There is a reason I try and get most of the small stuff with a 4 px brush and that is because anything smaller than that and I will have to go over the area more than once with the brush. But there are some areas that are two small for that size. I zoom to between 300% and 400% depending on how small an area I am working in. Be careful around transition areas (like where the black background meets the white detail lines that border Naruto's hair). You don't want to over brush or under brush the area. Be careful to not color over the white detail lines as well. It can be difficult to tell what is a white detail and what is noise sometimes so do your best. If you really want to be sure go look an LQ raw of that page. Since this raw hasn't gone through any processing the white detail lines are much clearer. Unfortunately once we start processing the raws with scripts and such the white detail lines are some of the first things to go.

And here is the page with the blacks cleaned. Don't forget the make those SFX that you plan to leave behind black too.

It already looks a lot better but we aren't done yet. Now we need to remove the text. For this I use the Rectangle Tool (U) with the foreground color set to white #FFFFFF and the tool set to fill layer.

Then I go and make boxes over all the text and it turns the area white. Two things to watch out for with this method. Make sure your box doesn't overlap a text bubble or other drawing this will result in the part that was overlapped also being turned white. Also make sure you get all the text, if you miss just a little bit either make another box over that bit or go back over it with the brush tool and clean it up. If you need to (And sometimes I do need to) you can zoom in to make sure you are only getting what you want to get in your box.

Now you have the text removed. Well all but that one bubble. Leave the ellipsis and punctuation in the bubbles when that is all that is in the text bubble. Your typesetter will love you for this.
The next step is to make the panel boxes look good. To do this we use the line tool (U) which is with the rectangle tool (U) set to make a new shape layer, foreground color black, 3 px, and Style none.

Then line up the tool with the panel outlines and click while holding down the mouse button and the shift key drag your line to the other end of the box and release the mouse button first. The reason for holding down the shift key is to make sure that the line you are making will be perfectly straight. Complete the panel outline and then click on the background layer in the layers palette and use the brush tool set to white to clean up the extra white around the edges. Since you used the make a new shape layer with the line tool any brushing you do will not erase the line you made and this will make cleaning up those extra lines easier. This part takes some practice to get good at since sometimes the line you made will overlap more with the outside of the panel line and you will have to clean to the inside with the brush tool very carefully so as not erase detail that is supposed to be there.
Next step is to make sure the whites are white. With the kind of paper Naruto is printed on there is often little specks in the white areas that don't belong there. Just use the brush tool set to white to clean these specks. Be careful that you aren't erasing detail that is intended to be there.
Then I use the burn tool (O) set to shadows exposure around 25% over the black lines that have lost some um ph...

In this case the leaf symbol on the head bands and Kakashi's hair and some of the back ground details. We need to be careful of using the burn tool (O) to much because this can damage the lines in a bad way. If the lines are broken but not supposed to be, or to badly faded then you will need to redraw them either with the line tool (U) or the pen tool (P).

So now the panels are nicely framed and whites are white and the faded black lines look better. You may need to save the last two full page images to your computer and look at them in an image viewer flipping back and forth to see the difference, I assure you there is a difference.
Now we need to redraw the white detail lines. These are the most commonly missed things when new people are cleaning. We need to train ourselves to recognize these. When the person is on a black background you need to show where the background ends and the person begins. We do this with white detail lines. When two people are draw overlapping each other and both are wearing black we need to see that. This is done with white detail lines. Where the person bends an elbow and is wearing black we need to see the crease in the clothes. This is done with white detail lines.
To do this I use the line tool (U) set to 1px foreground color white #FFFFFF. I am careful when using the line tool to be very zoomed in. 400% is good and if there are curves and they are small enough I just go in small increments following the shape of the curve. It is very easy to get to blocky or angular with this tool. If you know how to use the pen tool (P) that would be more ideal for these curved lines. Since this is a basic cleaning tutorial I won't go into how to use the pen tool (P) here. Most of the white detail lines need redrawing to look right. As I said before the white detail lines are one of the first casualties when we start processing the raws so often they are faded or broken and even entirely missing is some cases. Again if you can it is best to have the LQ raw to look at to see how far to continue a line or if it was there in the first place.
And there you have it a nice HQ clean all ready for typesetting.