|
| Index tutorial: Building
studio | Make shots with Canon
PS G3 | Edit shots with Photoshop |
| Organize your images! |
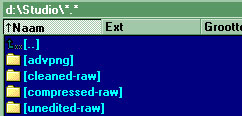
To keep the troubles minimal and also preventing accidentially
overwrite files or delete it, you need a good directory structure
in your map.
advpng is the program to compress PNG files more better with
tweaked methods.
The original photos are placed in Unedited-raw directory. They
are original JPG files.
After leveling and cleaning up the photos, cropping and aligned
the image is also needed. The cleaned images are not resized
to 1200/1000 pixels height. You place the images in Cleaned-raw
directory. It's saved in PSD format.
Finally, for internet you resize the image a little and export
it to PNG in Photoshops menu Save for Web...
Then move the PNG files to advpng directory, and run the program.
After the process you move the rebuilded PNG files back to Compressed-raw
directory.
(For edited images with translated texts, there are 'Edited-psd'
and for Internet 'Edited-png' directory.)
You may also choose the directory structure which is written
in the guide
of Censored Vagina.
|
| Edit the shots. |
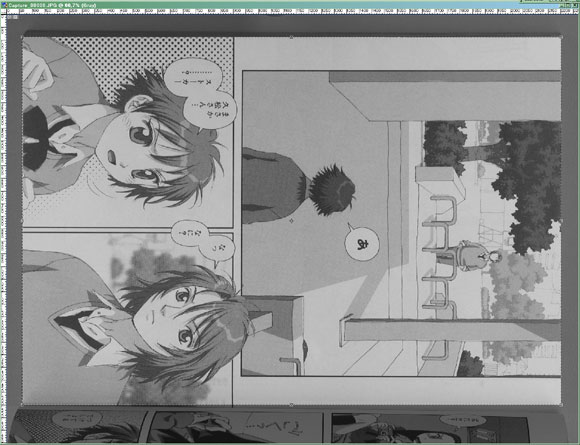
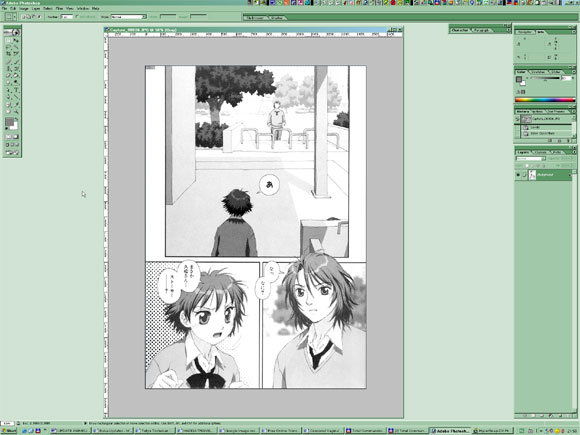
Here is Photoshop program.
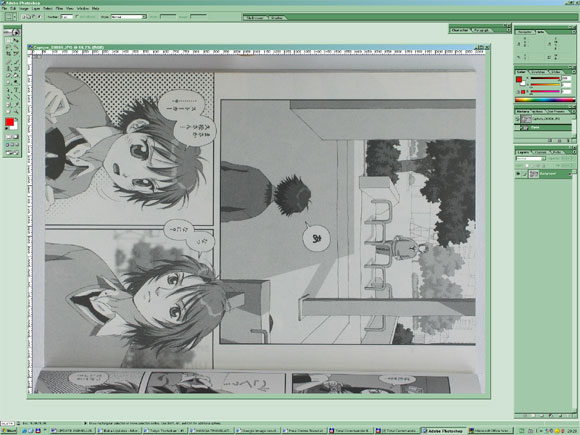
Load the photo in the program.
The photos are standard in RGB color. We must set it to Grayscale.
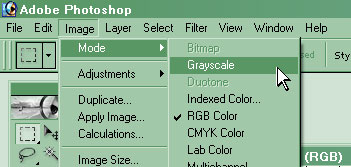
Then immediately you receive a warning:

Click OK.
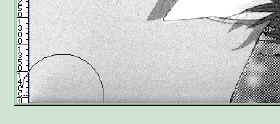
Now we must align the photo. If you're have luck, some photos
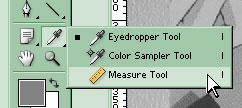
are perfect aligned. You can check it easy with measure tool.
Choose now the horizontal or vertical side of the straight lines
in the page. Keep left button pressed until you have choosen
another point.

Then look above the Photoshot, in the bar below the menu.
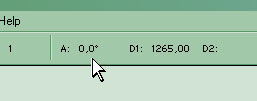
I have luck: A value is 0,0 degrees. No rotation needed. But
rotation is not very needed if your photo is almost aligned
for your eyes. (if A is lower than 0,1 degrees) Judge it for
yourself.
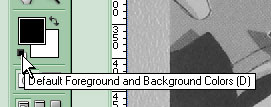
If rotation is needed, then check first if the background color
is set to White color. (code #FFFFFF)
Then you can go to:
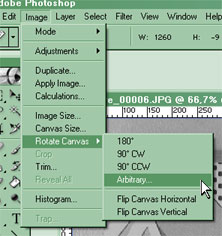 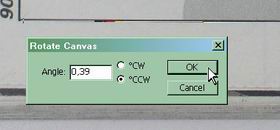
You see, the angle value is already inserted for you. Click
on OK.
Now we can crop the image.
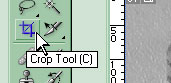
Select the whole page which must be cropped from unneeded areas.
Below the photo you see the fold area.
 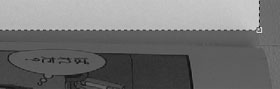
Left is the crop area exactly against the another page. But
right is more lower. Don't worry, it's just white area, we can
crop it away. If it's too much, make then a new shot and try
again.
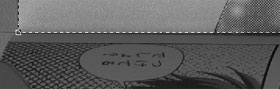
Double click on the light area. The dark marked area goes away.
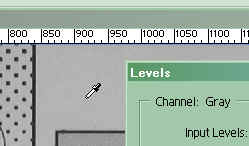
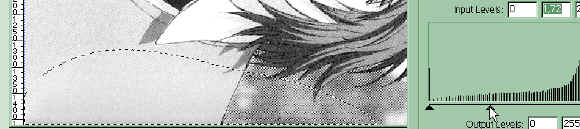
Now we start with leveling. We make white areas in photo real
white and darkest area real black.
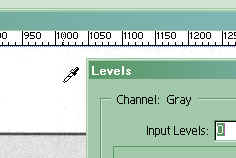
You can go to menu:
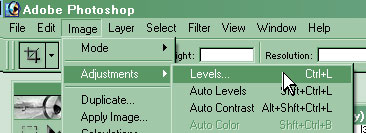
But pressing CTRL+L does the same work and is quicker.
Now select white point.
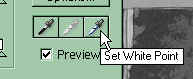 
Select the area which is normally white. It's always blank area
on the page.
Now it's white. Make it sure it's little grayed area and not
most white place, because it makes not whole blank areas white
enough.
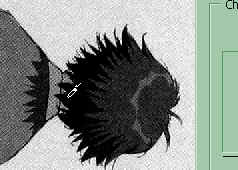
Choose now black point and select darkest place. In my way i
see under the hair is most dark.
It's possible that your result looks now a little overleveled.
The dary gray areas are possible too much dark.
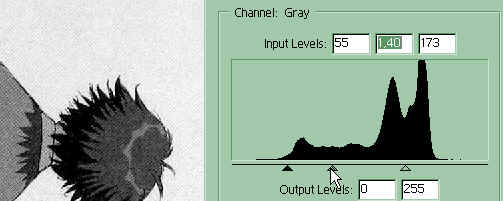
You may level it a little with the arrow between black and white
arrow.
WARNING: If your monitor is too dark, another people shall see
your result as a bright page. And LCD monitor (or your laptop)
has good brightness to check the levels.
If the level is now good, click on OK.
Your result is now more better with good leveled page. Left
below the picture i see a little shadow. It's not very bad,
but we can fix it a little.
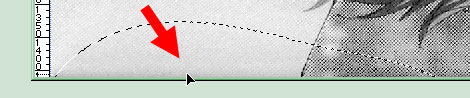
Use the Quickmask mode (press Q)
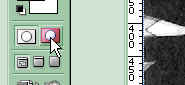 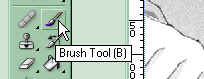
Choose brush tool.
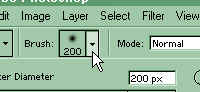 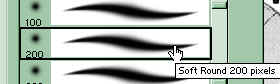
Open the settings. Choose a nice big soft brush, in my case
200 pixels.
 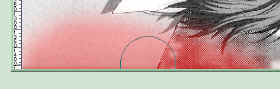
Make a good red marked area around the shadow. A easy wipe should
enough to mark the place.
Now exit the Quickmask tool with Q.
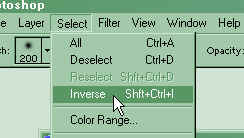
Inverse the selection now.
You can now leveling the selection now. Move it a bit to make
it brighter.
But if you still see a little shadow, we must move the selection
a bit lower.
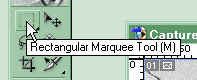
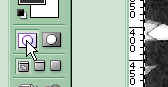
Go to the Marquee tool.
Move the selection now a bit lower. Level the selection again
a little until it's now minimal enough.
When you're ready (you can also do sharpen and another cleaning
work, see the guide for more information). But this is enough
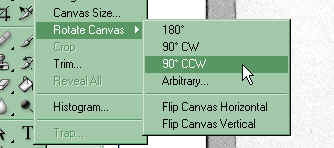
for most cases. We can now rotate the image.
And now is the image ready for editing. But first you save the
cleaned image as a PSD file away.
Good luck with the raw images!
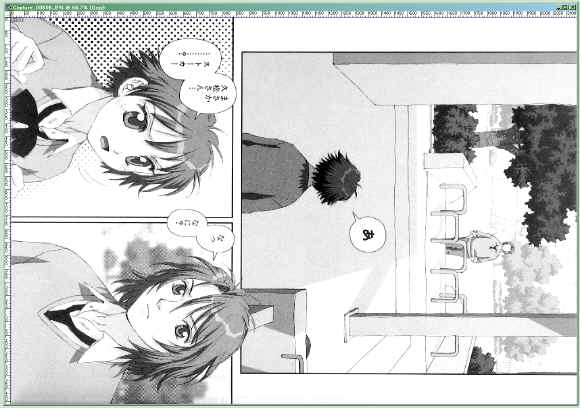
You can now upload the images here if you can do it. Resize
the images a little to 1200-1500 pixels height. My picture is
still 2138 pixels height. :)
|
|
|
