SITEHome SCANNINGTips File naming Rotation Cropping Leveling 01 Leveling 02 Shadow Bent Lines Resize Double pages Color pages Test TRANSLATINGScripting SFX Test CLEANINGIntroduction PS Shortcuts Text Healing brush tool Various 1 Various 2 Various 3 Test PROOFREADINGProofreading Test EDITINGIntroduction Bubbles Thoughts Narration Boxes Excited text Past conversation H-scenes Afterword Digital Long Hyphen SFX Clipping Mask Common problems TEXT EFFECTSTransparency Outerglow/Stroke Pattern overlay Gradient overlay Warped text Various 1 Various 2 Various 3 Various 4 Test SCREENTONESInstallation Dots Kiara's Collection COMPRESS JPGInstallation How to use |
| SCANNING - LEVELING 02 |
|
Qcing pages from certain magazines like Chara & BexBoy can be really nerve
breaking and is very bad for your sanity. Your brain will definitely explode when there are evil shadows you've to take care of too. This is the image we're going to use... 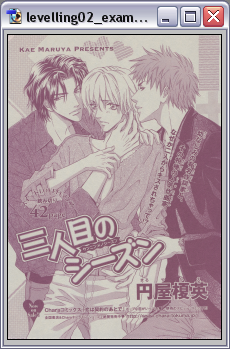 * Download the page here. Step 1 --> Image --> Mode --> Greyscale. Step 2 --> Go to Layer --> New Adjustment Layer --> Levels. Step 3 --> I'm going to use the input levels of 80 | 1,1 | 200 . 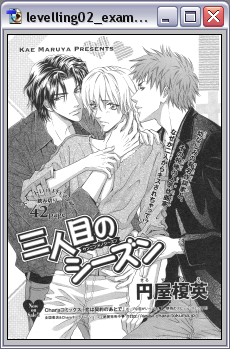 Step 4 --> Go to Layer --> Flatten Image. It's time to level it for a second time. Step 5 --> Go to Layer --> New Adjustment Layer --> Levels. Step 6 --> I'm going to use the input levels of 50 | 1,1 | 255 . 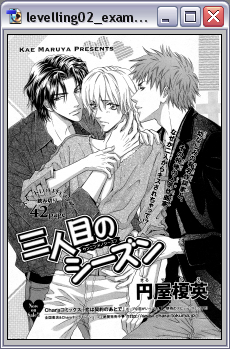 Step 7 --> Go to Layer --> Flatten Image. Even though it looks good we're still not done. Let's zoom in. 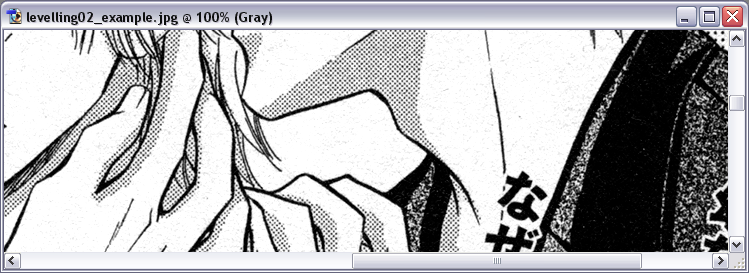 Let's level it one more time. Step 8 --> Go to Layer --> New Adjustment Layer --> Levels. Step 9 --> I'm going to use the input levels of 35 | 1,4 | 230 . 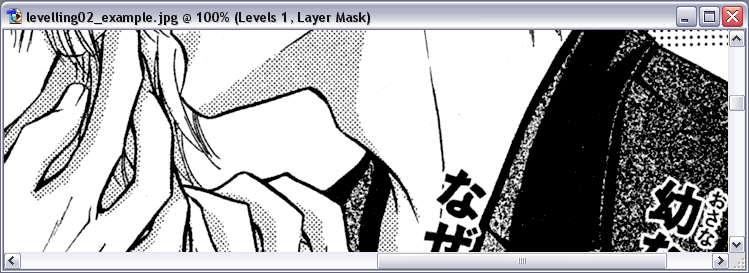 Step 10 --> Erase with a soft-rounded brush some of the leveling that has gotten over all those 'gradient/pattern parts'. 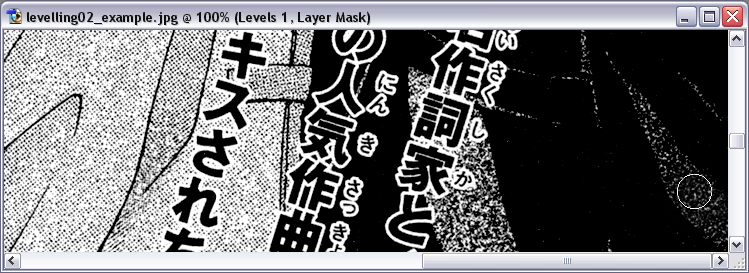 Step 11 --> Flatten the image when you're done. Step 12 --> Use the eraser brush and erase all the dust on the scan in the smallest details. 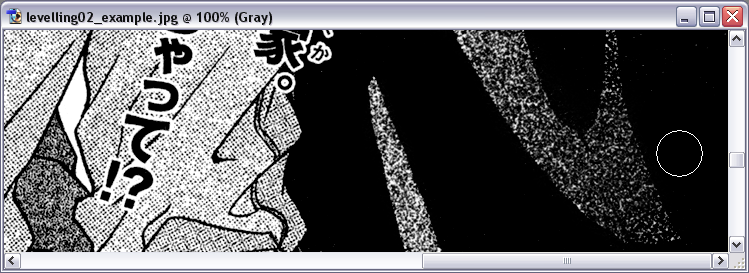 This is how it looks like right now. 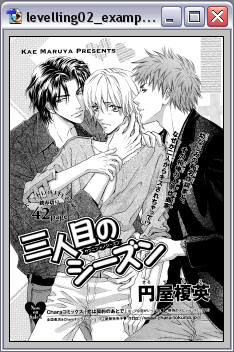 Because I think the 'gradient-parts' turned out a bit too dark on the guy's jacket, I'm going to make it more brighter. Step 13 --> Go to Layer --> New Adjustment Layer --> Levels and use the number 1,2 for greytones. 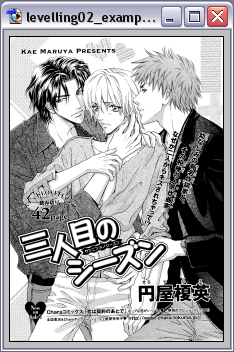 Step 14 --> Correct whatever needs to be corrected. My final outcome can be seen here. |