SITEHome SCANNINGTips File naming Rotation Cropping Leveling 01 Leveling 02 Shadow Bent Lines Resize Double pages Color pages Test TRANSLATINGScripting SFX Test CLEANINGIntroduction PS Shortcuts Text Healing brush tool Various 1 Various 2 Various 3 Test PROOFREADINGProofreading Test EDITINGIntroduction Bubbles Thoughts Narration Boxes Excited text Past conversation H-scenes Afterword Digital Long Hyphen SFX Clipping Mask Common problems TEXT EFFECTSTransparency Outerglow/Stroke Pattern overlay Gradient overlay Warped text Various 1 Various 2 Various 3 Various 4 Test SCREENTONESInstallation Dots Kiara's Collection COMPRESS JPGInstallation How to use |
| TEXT EFFECTS - VARIOUS 2 |
|
With this tutorial I'm going to teach you how edit an SFX behind a character. Like the example below. * Click here to download the cleaned version of this example. 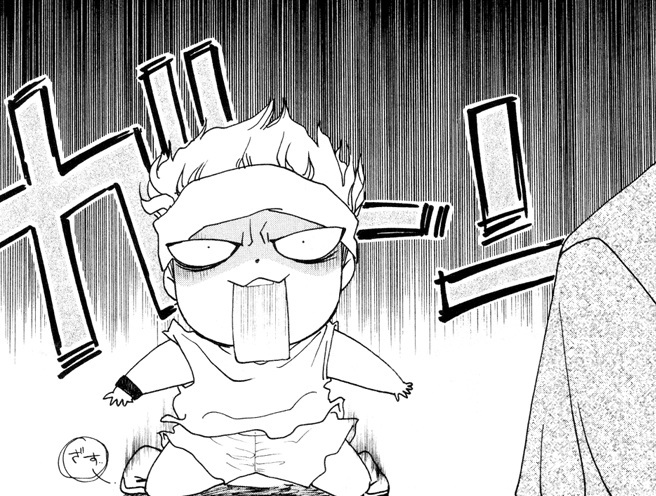 Step 1 --> Move your mouse to the 'Lasso Tool' and right click on it. Step 2 --> Select the 'Polygonal Lasso Tool'. 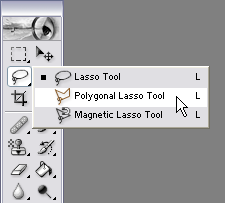 Step 3 --> Hit on ctrl, + (to zoom in) or go to View --> Zoom in. Step 4 --> Select with the Polygonal lasso tool the head of the character. Like the example given below. 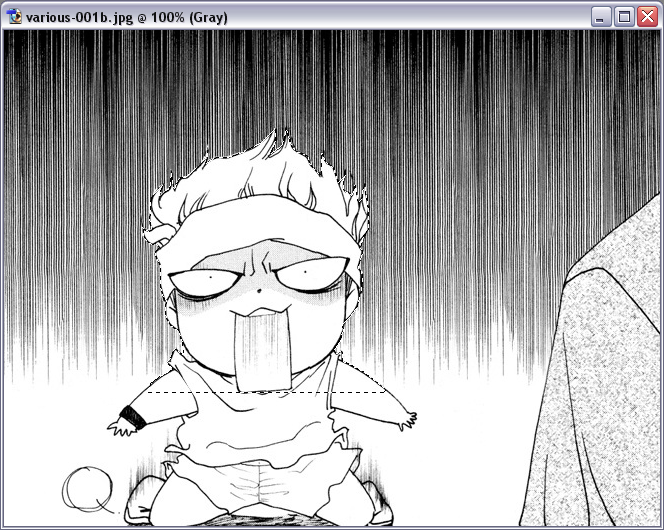 Step 5 --> Hit on Ctrl, C (Edit --> Copy) then on Ctrl, V (Edit --> Paste). This is how you layer panel should look like. 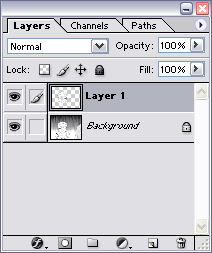 Step 6 --> Make the layer invisible by clicking on this 'Eye'-icon.  Step 7 --> Click with your mouse on the 'Background' layer. 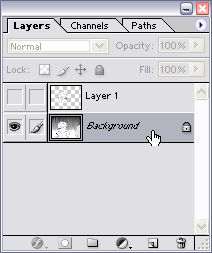 Step 8 --> Copy the SFX from the .doc file and edit it on the page. This is how I'm going to do it. 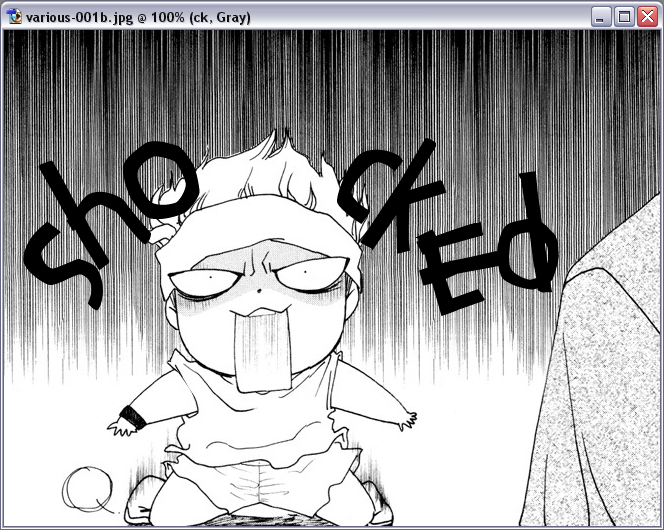 A quick sneak-peak at my layer panel. 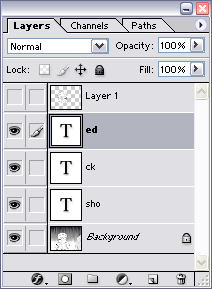 Let's add the effects just like the original. Step 9 --> Go to Layer --> Layer Style --> Pattern Overlay. 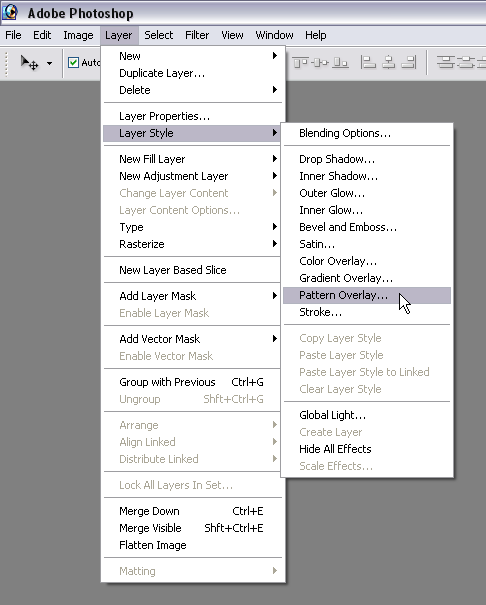 Step 10 --> Set the 'Blending Mode' to normal, 'Opacity' & 'Scale' both too 100% and choose a pattern that looks similar to the original. 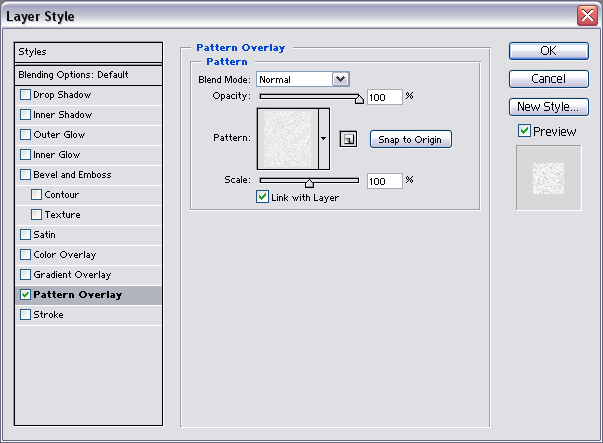 Step 11 --> Click on 'Stroke' and take over these settings below. 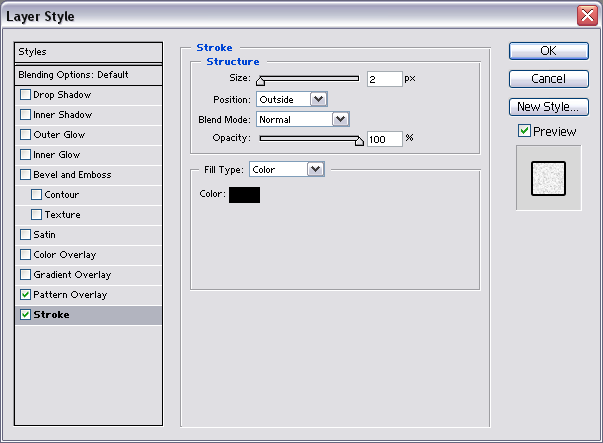 Step 12 --> Click with your mouse on 'Drop Shadow' and change over to these settings. 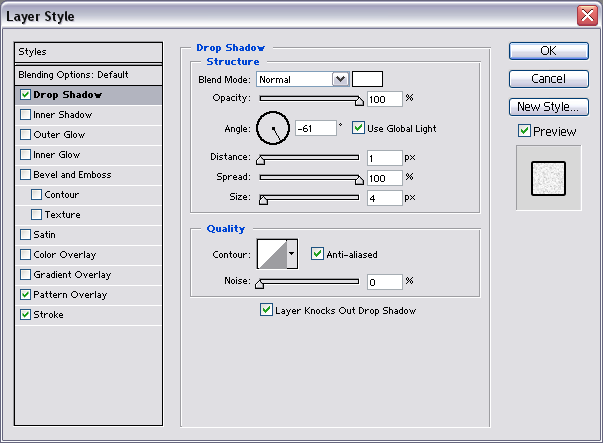 * Note: You can also use 'Outer Glow' if you like. Step 13 --> Click with your mouse on 'Inner Glow' and change over to these settings. 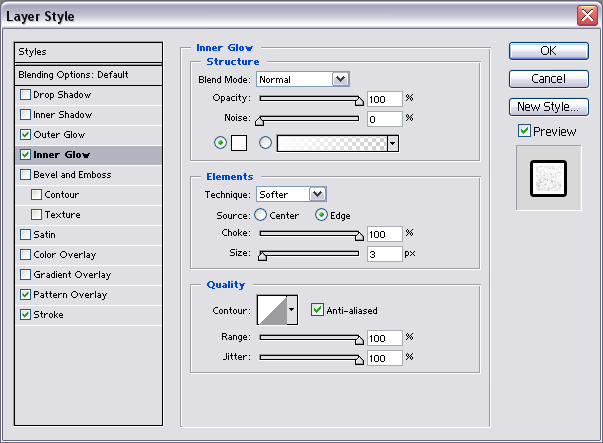 This is how my example looks like right now.  Step 14 --> Click on 'Layer 1' to make it visible again. 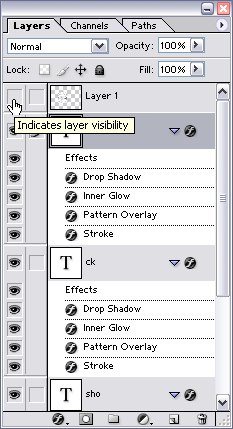 It should look like this now. 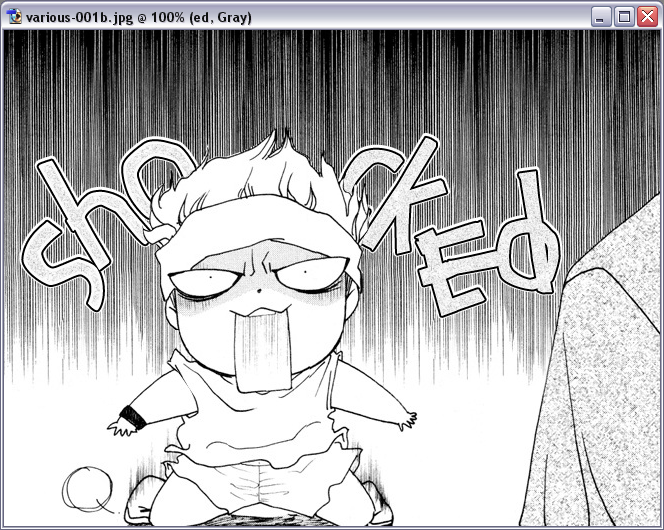 |